This content was created with AI assistance and reviewed for accuracy and quality by the H&H team.
Real-Family Spotlight

My 40-Hour Terminator That Almost Broke Me (and Why Pointillism Is Perfect for Families)
Hey, I’m J. Daniel Rogers (Jarrod). This piece you’re looking at took me over 40 hours of nothing but tiny black ink dots on paper (okay, I added some red ink as well). My wife would walk by the desk every week and ask, “Are you still doing that robot thing?” Yes, I said “every week”. Despite it being 40+ hours, I spent about three months from start to completion.
But when it was finally finished, and we hung it on the wall, something clicked: pointillism teaches patience better than anything I’ve ever tried …and it’s actually the perfect hobby to do side-by-side with kids, teens, or even your spouse on a quiet Saturday. What, you don’t believe me? I even taught my first and fourth-grade art classes how to do their own projects… albeit a bit simpler.
Here’s what I learned the hard way (so you don’t have to):
- Cheap micron pens work better than the expensive ones
- Start with a simple grid – I’ve included one below
- Zoom in, breathe slow, and treat every dot like a tiny victory
- Kids love it because “mistakes” disappear in the pattern
↓ Grab my free Pointillism Starter Pack I wish I’d had on day one (printable dot grid, exact supply list, and my 30-day “one animal” challenge calendar). Download Free Pointillism Starter Pack (PDF)
Scroll down for the Pointillism beginner’s guide…but if you only do one thing this week, print the grid and make 100 dots with someone you love. That’s where the magic starts.
BTW, you can read this full story on our blog post!
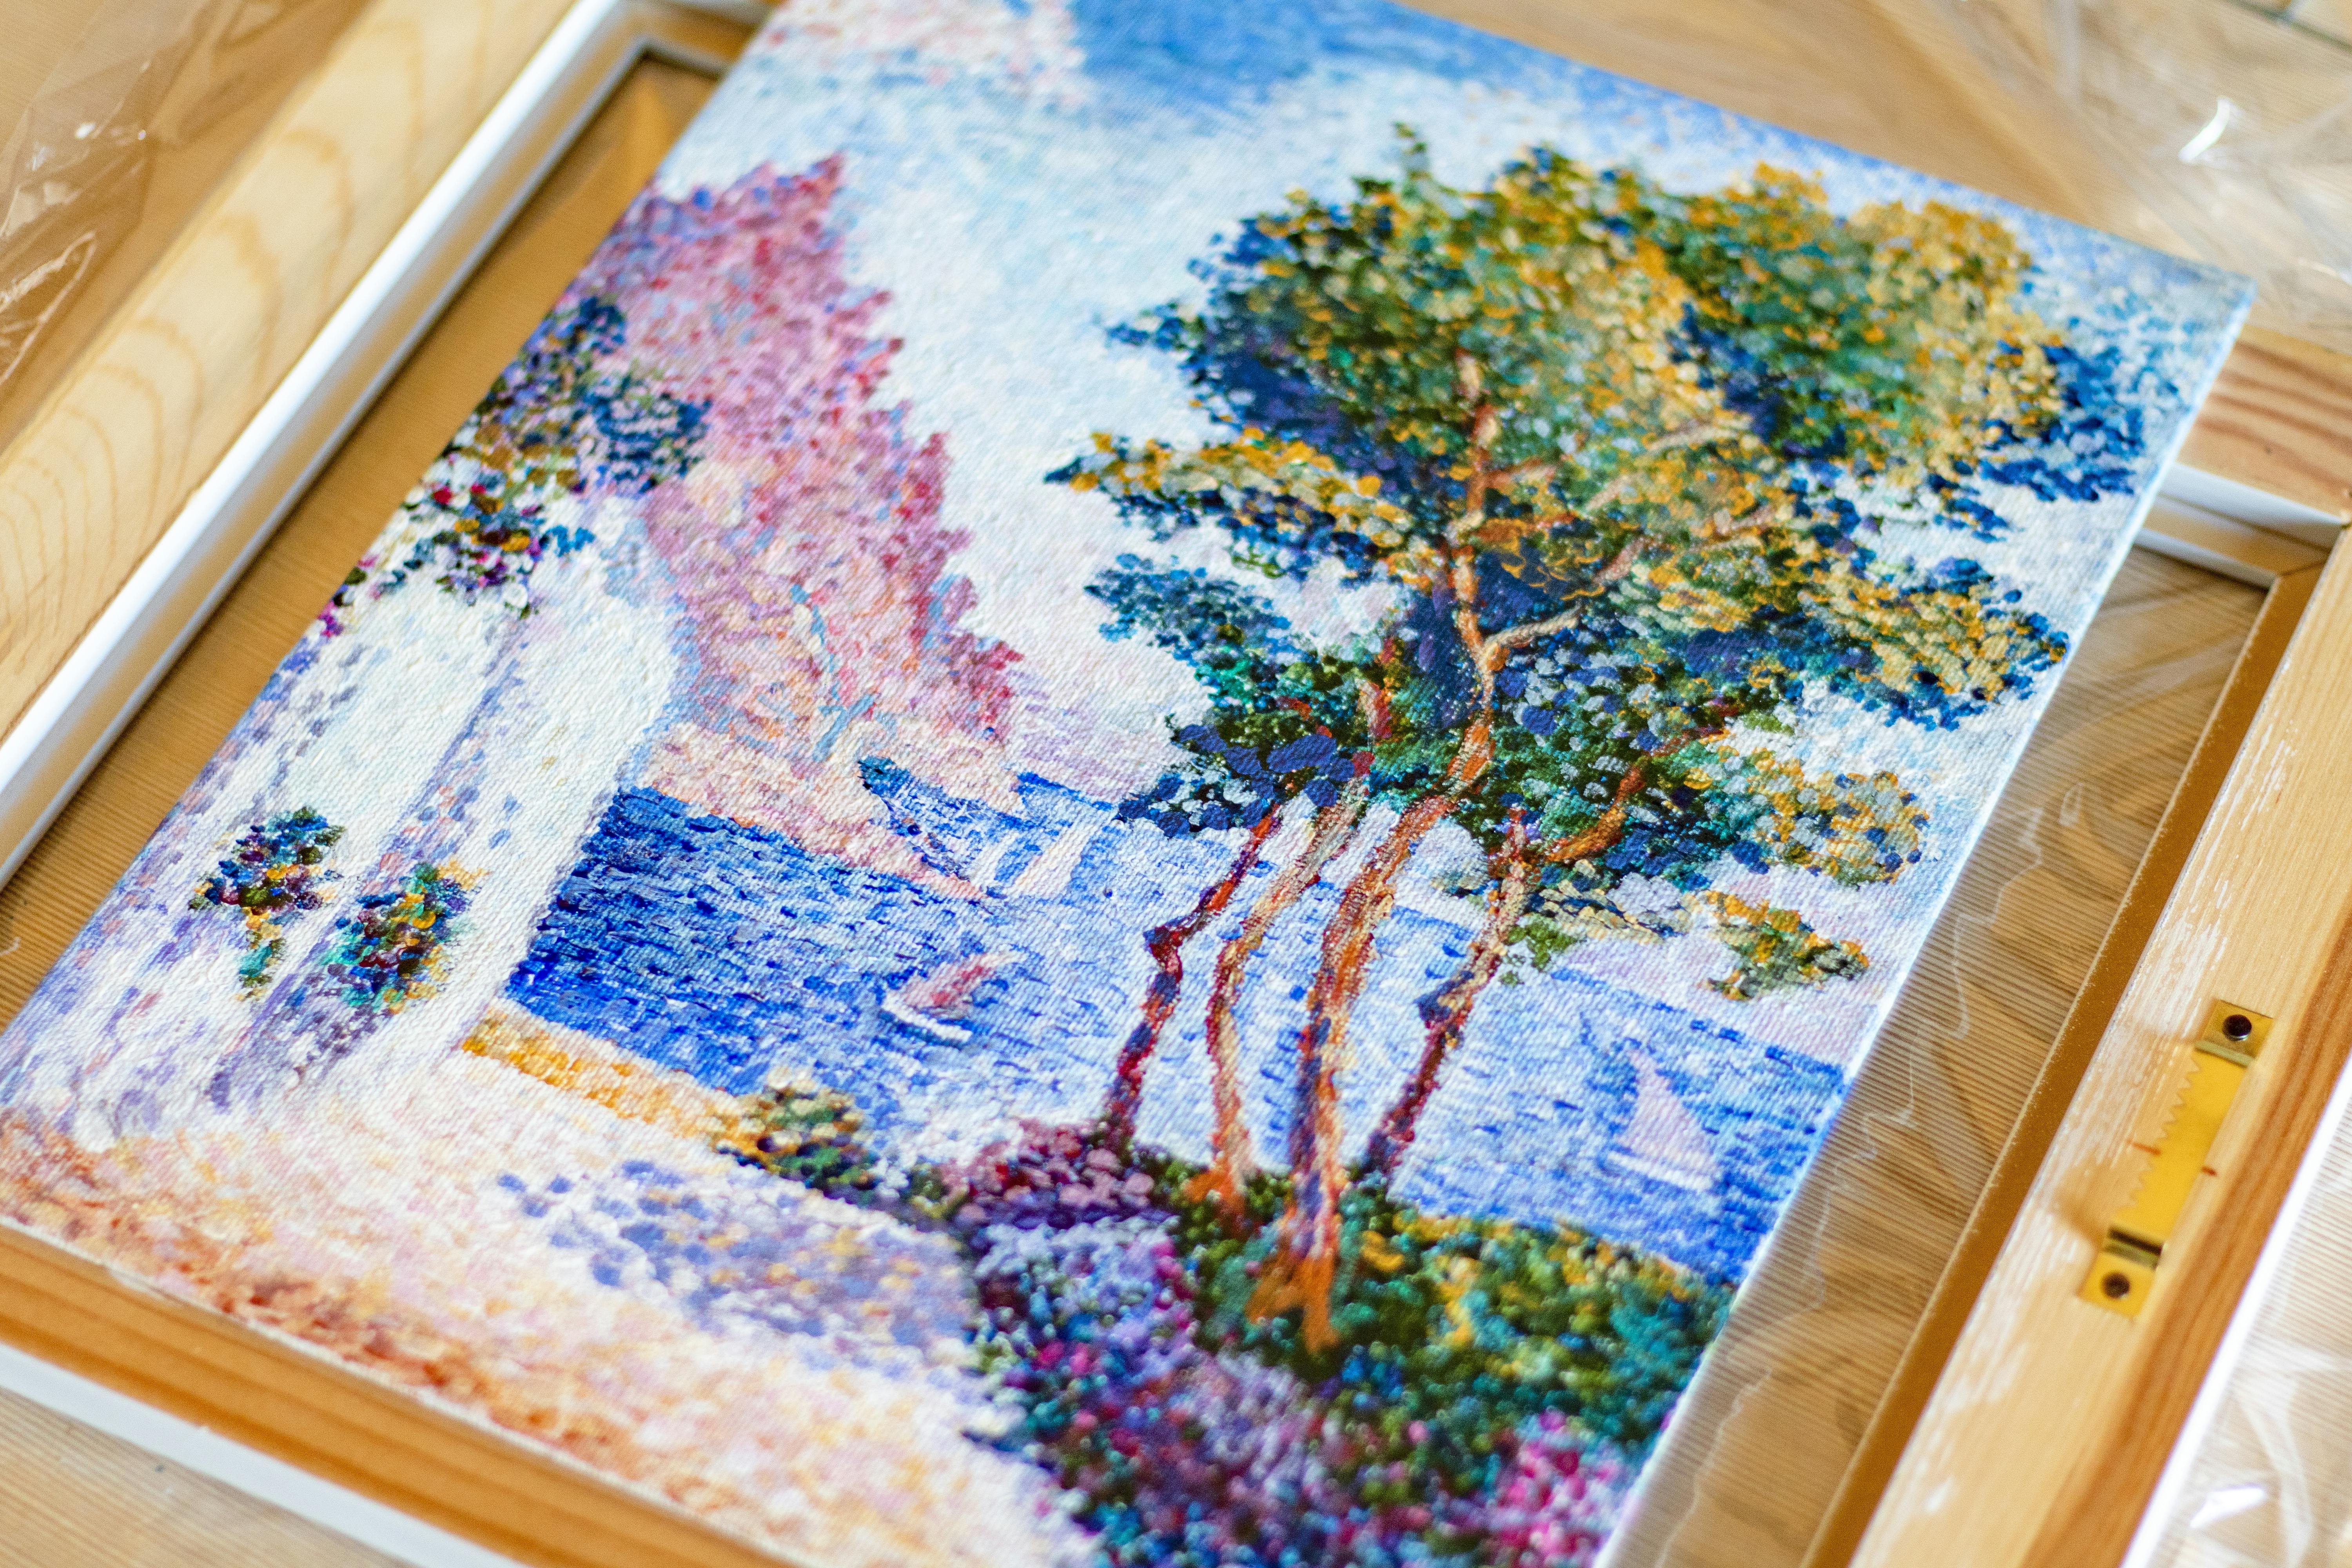
Pointillism is a mesmerizing art technique that transforms simple dots into vibrant, luminous images. Originating in the late 19th century, this method, pioneered by Georges Seurat and Paul Signac, allows artists to create detailed images through pure color dots. Instead of blending on a palette, the magic happens in the viewer’s eyes, as they “mix” the dots from a distance, producing a dazzling effect. If you’re new to Pointillism, this guide will walk you through the basics, tools, and techniques to start creating your own masterpiece with dots.
Why You Should Try Pointillism
Pointillism offers more than just a way to make beautiful art…it’s a rewarding experience for both your mind and your skills:
- Vibrant Effects: The optical mixing of pure colors creates radiant, luminous artworks.
- Master Color Theory: Learn how colors interact, complement, and visually blend together.
- Relax and Unwind: The repetitive process can be meditative, helping you relax and focus.
- A Unique Texture: Pointillism’s signature dot pattern gives your artwork a striking visual texture.
- Accessible for All: Whether you’re a beginner or an experienced artist, you can achieve stunning results with practice.
Essential Supplies
To dive into Pointillism, you’ll need a few basic supplies. Here’s a breakdown:
- Mediums: Acrylics or oils (Acrylics dry faster and are easier for beginners; oils offer more blending time).
- Markers/Pens: Fine-tipped for precise dotting.
- Pencils: For sketching outlines before you start dotting.
- Paper/Canvas: Heavyweight paper for markers or watercolor, or canvas for paints.
- Brushes: Small round brushes for painting dots; dotting tools or cotton swabs for consistency.
Key Techniques You’ll Learn
Pointillism is about the careful placement of dots. Some key techniques:
- Optical Mixing: Place different colors next to each other…your eyes will blend them. This is the magic of Pointillism.
- Building Value: Create depth by varying dot density; closely packed dots create darker shades, while spaced-out dots allow lighter colors to show through.
- Layering Dots: Add layers of dots to build more complex colors and textures.
- Form and Contour: Use dots to follow the natural shapes and curves of your subject, making it appear three-dimensional.
Best Practices to Keep in Mind
- Patience is Key: Pointillism is a time-consuming but rewarding process. Take your time, enjoy the rhythm of the dots, and let the artwork evolve.
- Start with Simple Subjects: Fruits, simple landscapes, or geometric shapes are great starting points to practice your dotting technique.
- Step Back Frequently: Regularly look at your work from a distance. This helps you see how the colors mix and how your image is coming together.
- Consistency in Dot Size and Spacing: Aim for uniformity, especially in the early stages, to create a cohesive effect.
Overcoming Common Challenges
- Uneven Blending: If your colors aren’t blending well, try stepping back further or adjusting the spacing of your dots.
- Muddy Colors: To avoid muddiness, use pure colors and avoid overlayering too many hues in one spot.
- Inconsistent Dots: Practice is key. Start slow and use a consistent tool to control the size and spacing of your dots.
Tips for Success
- Start Small: Begin with smaller canvases or paper to build confidence and complete projects faster.
- Practice Value Scales: Create a scale of light to dark using only dots to improve your control over tone.
- Experiment with Tools: Try using different brushes, markers, and tools to see what works best for you. (I actually prefer pens!)
- Don’t Rush: Enjoy the process! Pointillism is as much about the journey as the final artwork.
Conclusion
Pointillism is a unique and rewarding art form that transforms simple dots into vibrant, luminous images. With patience, practice, and the right tools, you can create stunning works of art. Embrace the process, explore the techniques, and let the dots bring your creativity to life.
Ready to dive deeper into Pointillism? Download the full guide to explore advanced techniques, tips, and step-by-step instructions!
Feel free to download the full guide for an in-depth exploration of Pointillism!