This content was created with AI assistance and reviewed for accuracy and quality by the H&H team.
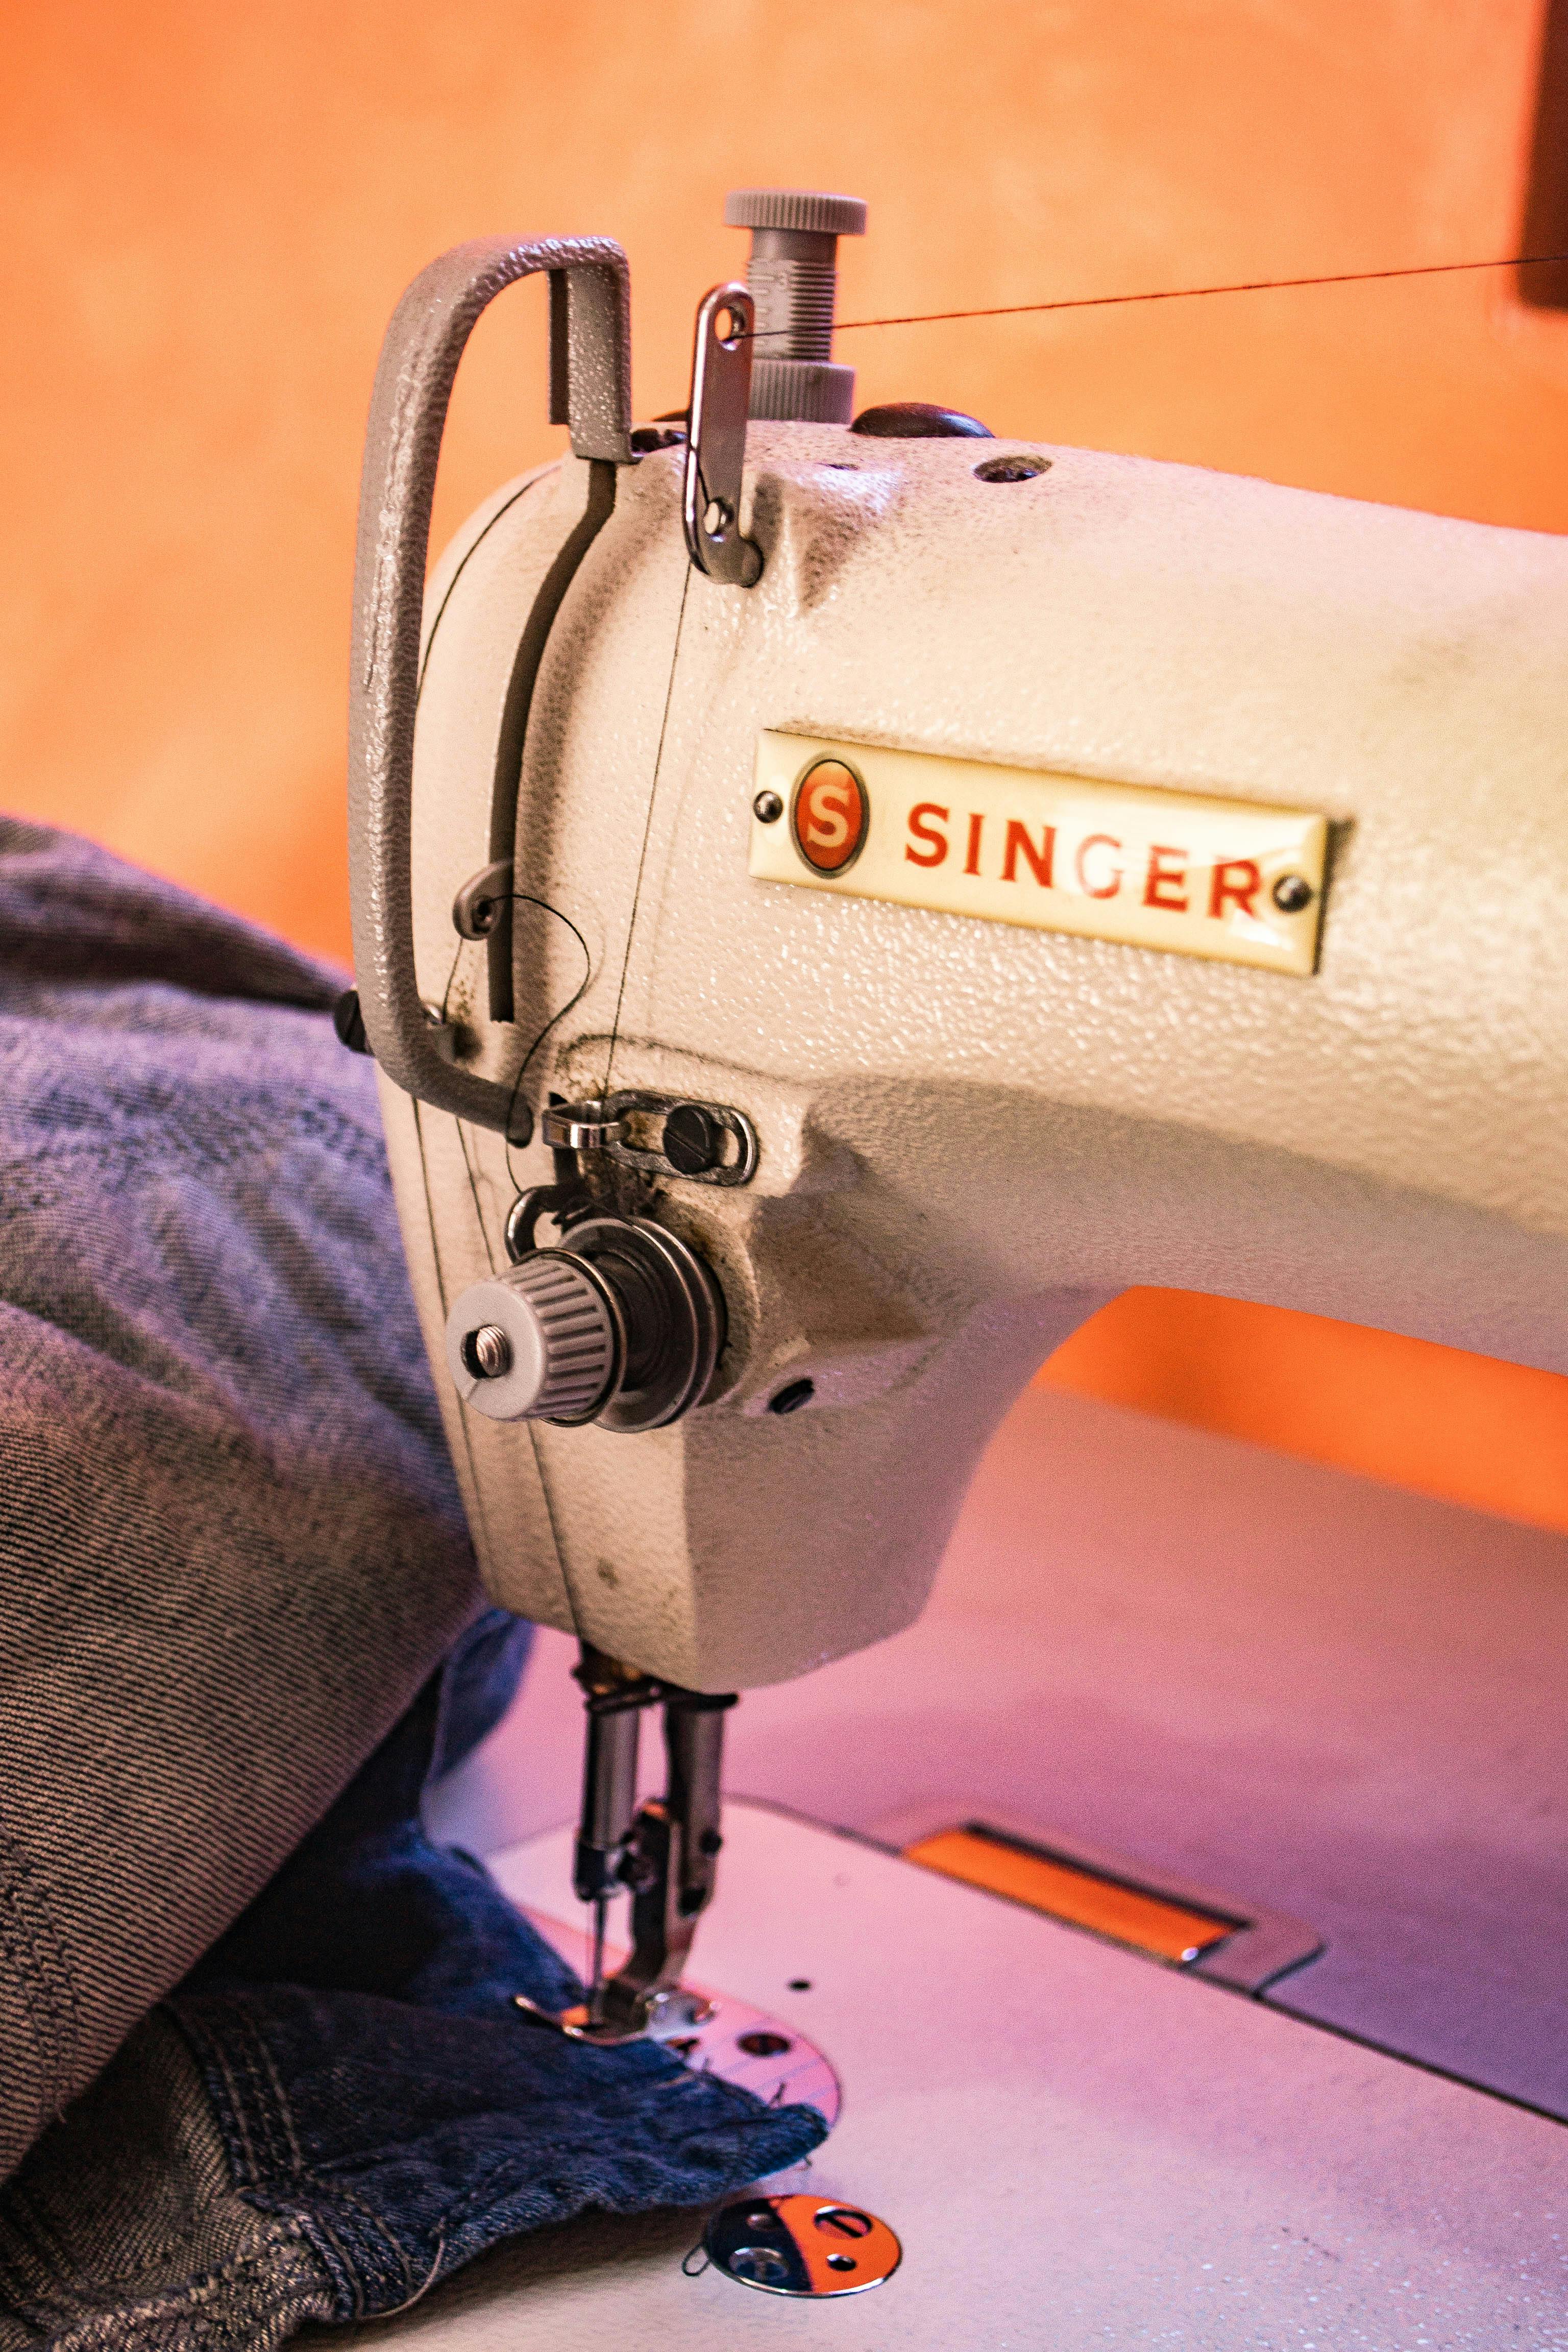
Sewing is more than a skill…it’s a conversation between fabric and imagination. Each stitch joins patience and creativity, transforming flat cloth into something that feels alive. If you can thread a needle, you can begin.
“The hum of a needle can steady the mind and awaken the maker within.”
Why Learn to Sew
Learning to sew gives you more than handmade pieces…it gives you independence.
It’s the quiet satisfaction of fixing what’s torn, or creating something that never existed before.
- Creative Freedom: Choose fabrics, colors, and designs that speak to your personality.
- Practical Use: Mend what you love instead of throwing it away, or craft something new for your home.
- Mindful Practice: The rhythm of stitching slows the mind, offering calm focus.
- Sustainable Living: Each handmade piece is one less disposable item in the world.
Gather Your Essentials
You don’t need a full studio…just a few reliable tools and a clear table.
Basic Supplies
- Cotton fabric (non-stretch, easy to handle)
- All-purpose polyester thread that matches your fabric
- Glass-head pins
- Fabric scissors (never use them on paper!)
- Seam ripper (for quick corrections)
- Measuring tape or ruler
- Fabric marking tool (tailor’s chalk or washable marker)
- Iron and ironing board
If you’re using a sewing machine:
- Universal needles (size 80/12 or 90/14)
- Bobbins compatible with your machine
Prepare Before You Stitch
- Choose a Simple Project: A pillowcase, drawstring bag, or tote is perfect for beginners.
- Pre-Wash Your Fabric: It prevents shrinking later. Dry and press it smooth before cutting.
- Read Through Instructions: If using a pattern, understand each step before you begin.
- Set Up Your Space: Good lighting and a stable surface make all the difference.
Step-by-Step: Sewing Your First Pillowcase
1. Measure and Cut
Cut two rectangles of fabric…each about 21×32 inches for a standard pillow. Lay them flat, right sides together (the printed sides facing inward).
2. Pin the Edges
Pin around three sides, leaving one short side open. Pins should run perpendicular to your seam line.
3. Sew the Seams
Using a straight stitch, sew along the pinned edges with a ½-inch seam allowance. Remove pins as you go.
If by hand, use a simple running stitch– small, even stitches that look like a dotted line.
4. Trim and Press
Trim excess threads and press the seams flat with an iron. This small step gives your project a polished finish.
5. Finish the Opening
Fold the raw edge of the open side inward twice (about ½ inch each fold) and stitch it down.
Turn the pillowcase right side out, and admire your work…your first handmade creation!
Keep Going
With every project, you’ll find your rhythm…cutting straighter, stitching smoother, imagining bigger. The next time you see a scrap of fabric, you’ll see potential waiting to be shaped.
Continue Your Journey
Download the full Beginner’s Sewing Guide for detailed patterns, stitching diagrams, and tips to take your skills from first project to full wardrobe.