This content was created with AI assistance and reviewed for accuracy and quality by the H&H team.
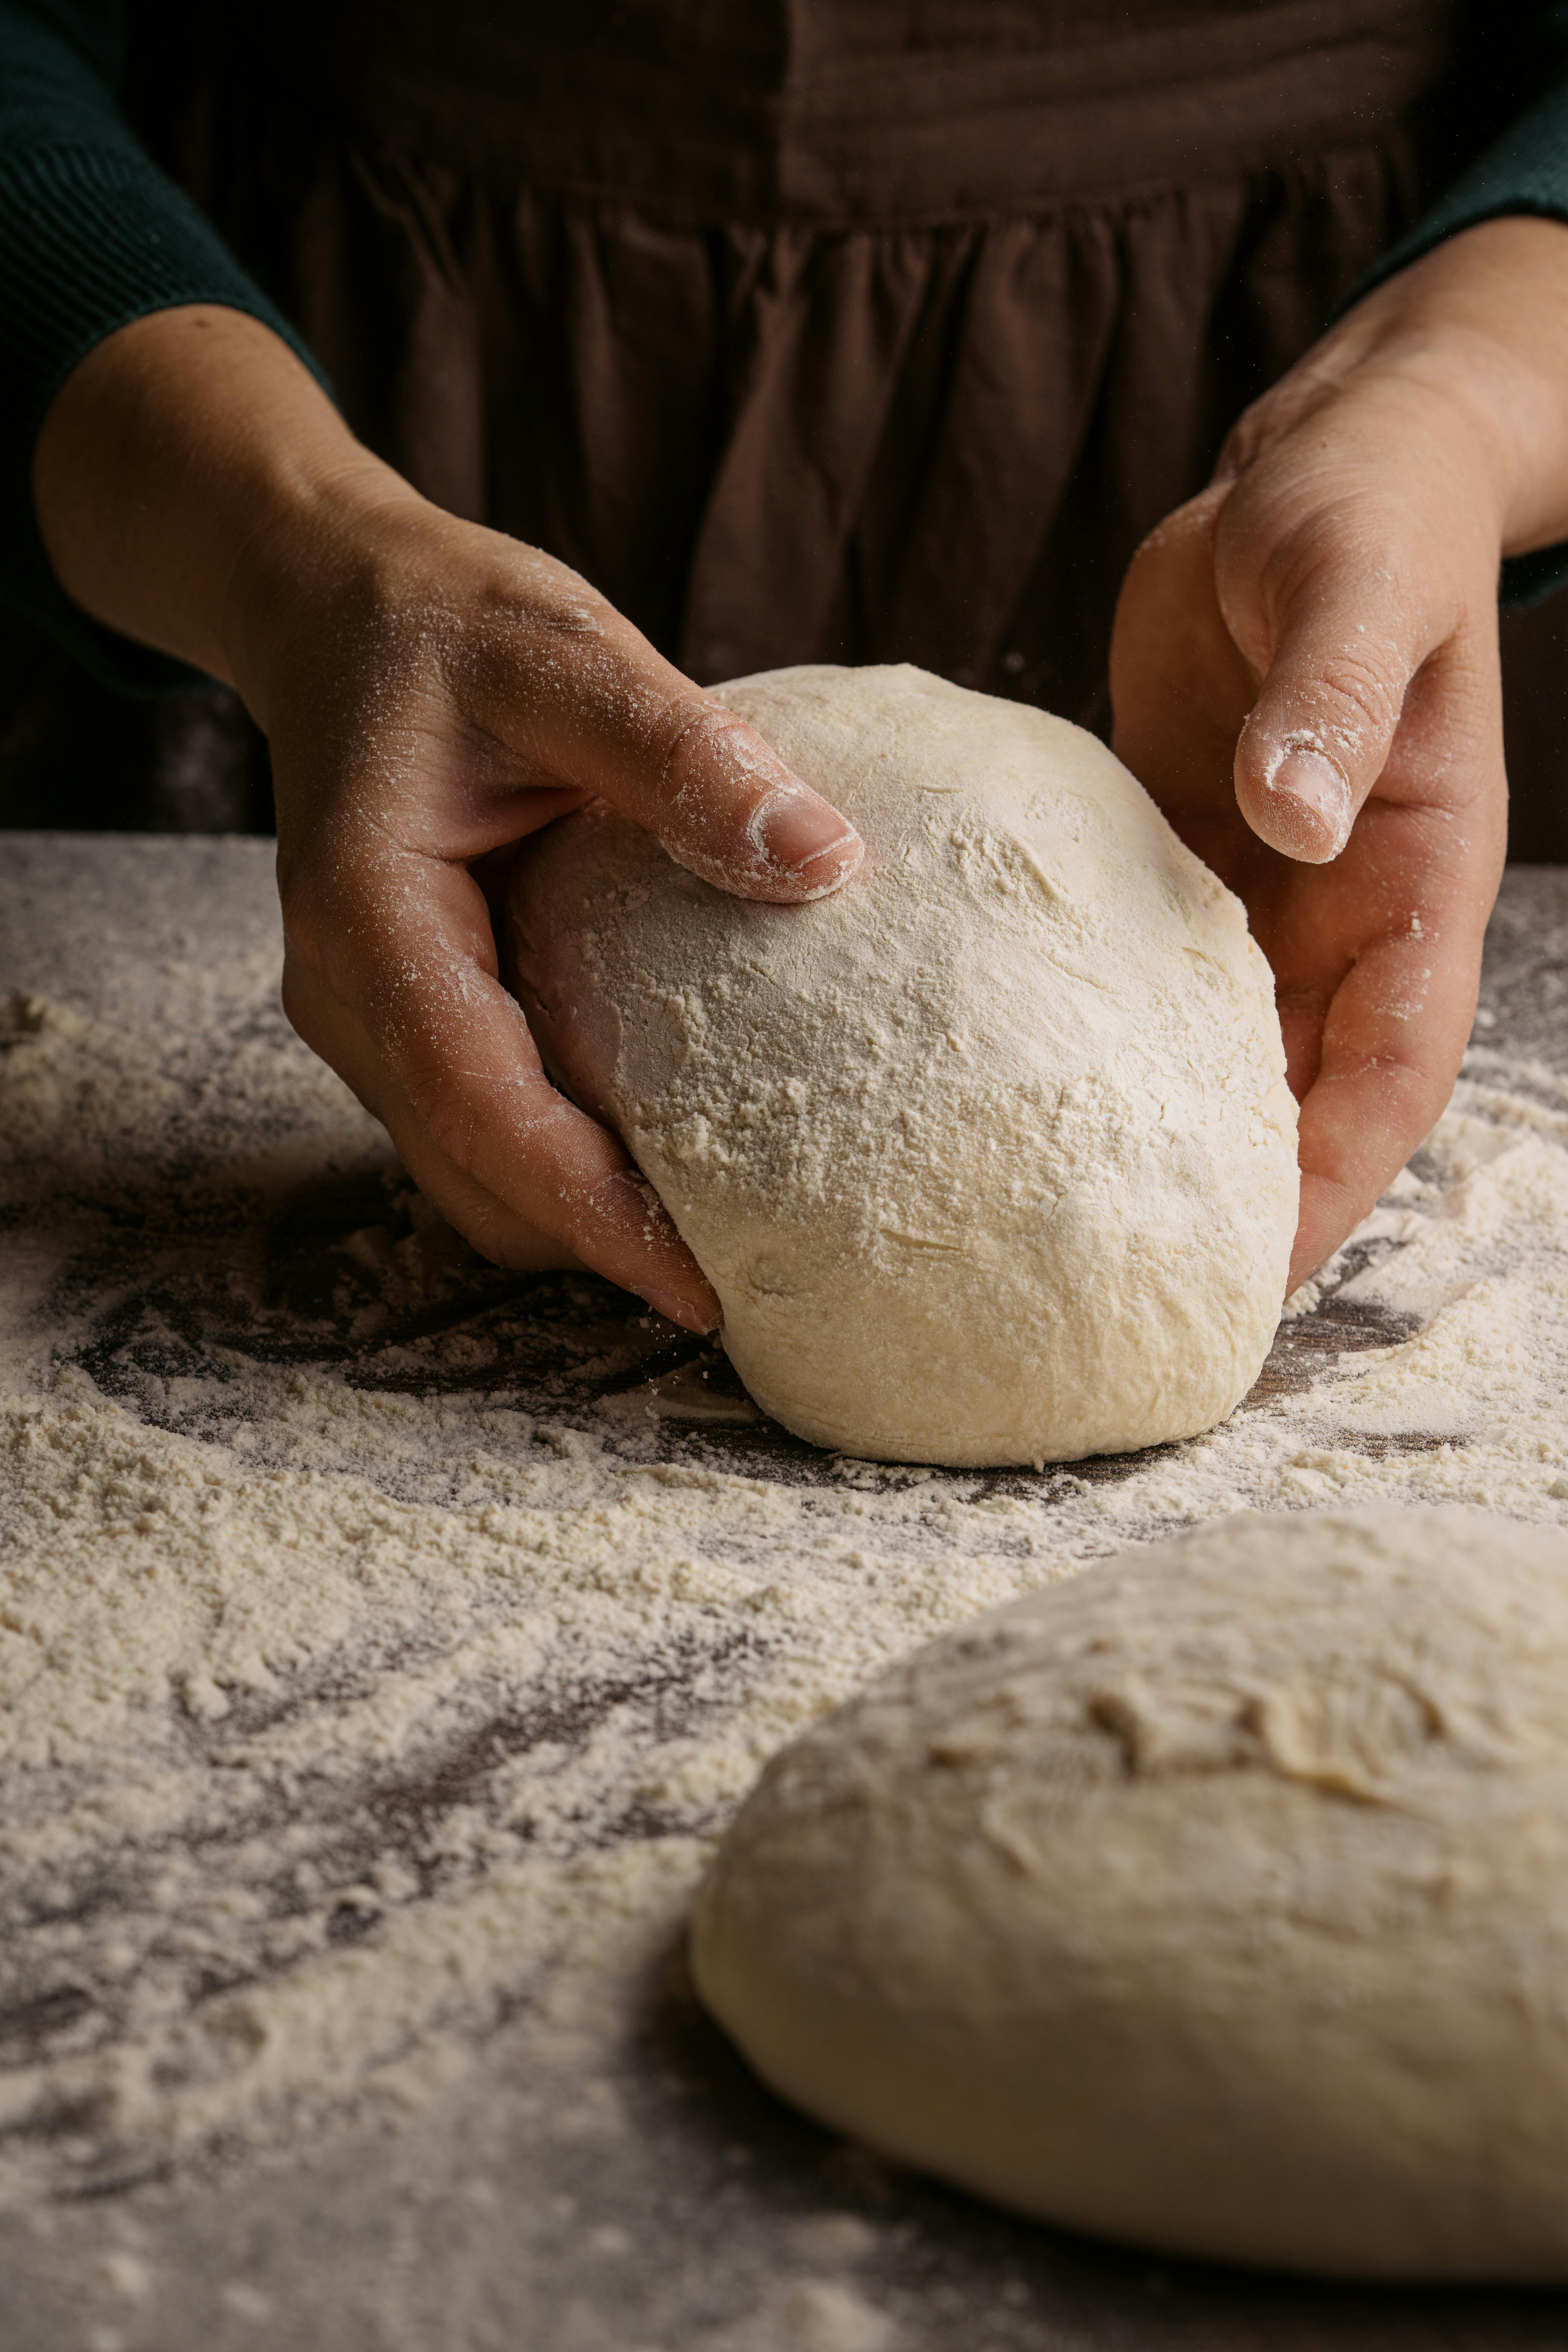
Breadmaking is one of the oldest and most rewarding culinary arts…a blend of science, patience, and creativity. With just four humble ingredients – flour, water, yeast, and salt – you can transform simple dough into a warm, golden loaf that fills your kitchen with the unmistakable aroma of comfort.
Why Breadmaking Matters
Making bread connects you to centuries of tradition. It’s both grounding and creative, offering mindfulness, sensory pleasure, and a tangible reward at the end.
- Mindfulness and Relaxation: The rhythmic act of kneading is meditative, calming the mind through movement.
- Sensory Experience: Feel the dough come alive beneath your hands and enjoy the aroma of baking bread filling your home.
- Control Over Ingredients: Bake bread your way…no additives, no preservatives, just pure ingredients.
- Deep Satisfaction: Nothing compares to slicing into a crusty, homemade loaf and knowing you made it from scratch.
Essential Tools and Ingredients
You can start breadmaking with basic equipment, but a few tools make a world of difference:
Tools:
- Digital scale – for consistent flour and water ratios.
- Large mixing bowl – for mixing and rising.
- Dough scraper – for handling sticky dough.
- Proofing basket (or floured bowl) – for shaping and supporting the dough.
- Dutch oven or baking stone – traps steam for a crisp crust and great oven spring.
- Oven thermometer – ensures accurate baking temperature.
Ingredients:
- Flour: Bread flour gives stronger structure; all-purpose works for softer loaves.
- Yeast: Active dry or instant both work fine.
- Water: Lukewarm (105–115°F) helps yeast activate.
- Salt: Essential for both flavor and yeast control.
Core Techniques
Kneading – Building the Gluten Network
Kneading develops gluten…the stretchy structure that traps gas and creates a light, airy loaf.
Tip: Knead until smooth and elastic. It should pass the “windowpane test” – stretch a small piece thin enough to see light through without tearing.
Proofing – Letting It Rise
Bread typically rises twice:
- First Rise (Bulk Fermentation): Let dough double in size; 1–3 hours at room temp or overnight in the fridge for deeper flavor.
- Second Rise (Final Proof): After shaping, let it rest and rise again before baking…this defines the loaf’s final texture.
Baking – Setting the Structure
During the first 10 minutes of baking (called oven spring), the dough expands rapidly. Steam helps keep the crust soft long enough for full rise, then crisps beautifully as the loaf finishes.
Scoring: Slash the surface with a sharp blade to control expansion and create decorative patterns.
Common Challenges & Fixes
| Problem | Likely Cause | Quick Fix |
|---|---|---|
| Dense or heavy loaf | Under-kneaded or under-proofed | Knead longer; ensure dough doubles in size before baking |
| Flat loaf | Over-proofed or too much water | Reduce proofing time; use a proofing basket |
| Pale crust | Oven too cool or not enough steam | Use a Dutch oven or add water to the oven |
| Burnt bottom | Pan too close to heating element | Move rack higher or place a baking sheet below for insulation |
Tips for Success
- Be patient: Trust the dough, not the clock…look for doubled volume, not a specific time.
- Use a digital scale: Measuring by weight ensures consistent results.
- Start simple: Try a basic white loaf before experimenting with sourdough or enriched doughs.
- Test doneness: Tap the bottom…it should sound hollow. Internal temperature should reach 200–210°F (93–99°C).
A Friendly Reminder
Breadmaking isn’t just a recipe…it’s an experience. The texture of the dough, the warmth of the oven, and the joy of your first perfect loaf make it one of the most fulfilling kitchen crafts. With a little practice, you’ll soon be baking bread that’s both delicious and deeply personal.
If you’d like the full guide, including step-by-step shaping methods, hydration charts, and steam-baking techniques, download the complete “Introduction to Breadmaking” guide below.